This article provides an overview of the Role Play feature and how course creators can add a Role Play to their custom course.
- Best practices: View our best practices for creating a Role Play.
- Frequently asked questions: Review answers to frequently asked questions for admins.
Please note:
- This feature is available within Enterprise Plan accounts with the Role Play Enhanced Add-On only.
- Role Play is enabled for Udemy Business customers who have GenAI enabled for their organization.
- Role Play is available in select languages. Learn more about supported languages for Udemy's GenAI tools.
- Your custom course must include at least 1 additional lecture, other than the Role Play items.
Table of contents
- What is a Role Play?
- How to add a Role Play
- How to create a Role Play from scratch
- How to create a Role Play with AI
- How to edit or delete a Role Play
What is a Role Play?
Role Play is an interactive curriculum tool that allows learners to practice skills with a GenAI-powered conversation coach and simulator. Fully customizable by course creators, the feature offers a way to teach real-world skills, including decision-making, problem-solving, and communication, while enhancing course engagement.
You can create a Role Play from scratch, or use the Create with AI option to quickly generate guided, tailored Role Plays.
Note: Anyone can create a custom course for their Udemy Business account. If you are not an admin of your Udemy Business account, however, you will need to submit the custom course for review, and an admin will need to approve it before it’s published. Learn more.
How to add a Role Play
To access and add the Role Play feature, please follow the steps below.
1. Navigate to the instructor, Courses page by clicking Teach at the top of your screen.
2. Next, move your cursor to the course you wish to update and select Edit / manage course.
3. Within a section, click + Curriculum item.
You can choose from the following Role Play options:
- Graded Role Play: A scored scenario with tracked results. Learners receive a numerical score based on the goals they complete.
- Practice Role Play: An unscored, open-ended conversation for free-form skill practice and rehearsal.
4. Add a title to your Role Play, and then click Add Role Play.
- Review examples and best practices for your Role Play title.
5. Click on the pencil icon.
1. Describe the skills your learners will focus on during the Role Play.
2. Outline the scenario and roles for your Role Play. Highlight the learner’s role, key objectives, and any challenges they will face to achieve the goals.
3. (Optional) Add additional details about character motivations, interactions, or dynamics to give depth to the role play.
4. (Optional) Link any available related lectures.
5. Click Generate role play.
The AI feature will use the information you provided, in conjunction with the course content, to generate your Role Play.
6. Once generated, review the information in the Meeting Details and Character setup sections. You can manually edit any of these sections as needed. To adjust your inputs and have the AI generate a new version, click Regenerate.
- Please note: Regenerating the Role Play will permanently replace all existing content.
7. Under Learning objectives, review the goals that have been generated. To edit the goal, select the pencil icon on the right. Or to delete the goal, select the trash can.
- You can also select Add goal to review learning objectives. You can include up to five objectives for each role play.
8. Under Edit goal, you can view each goal and its evaluation criteria. Click on a goal to edit its sections. To remove a goal, select the trash can icon.
9. Under Character setup, you can also edit various details for your character, including the name, audio, and role, for your setup.
10. When you are ready, click Publish. 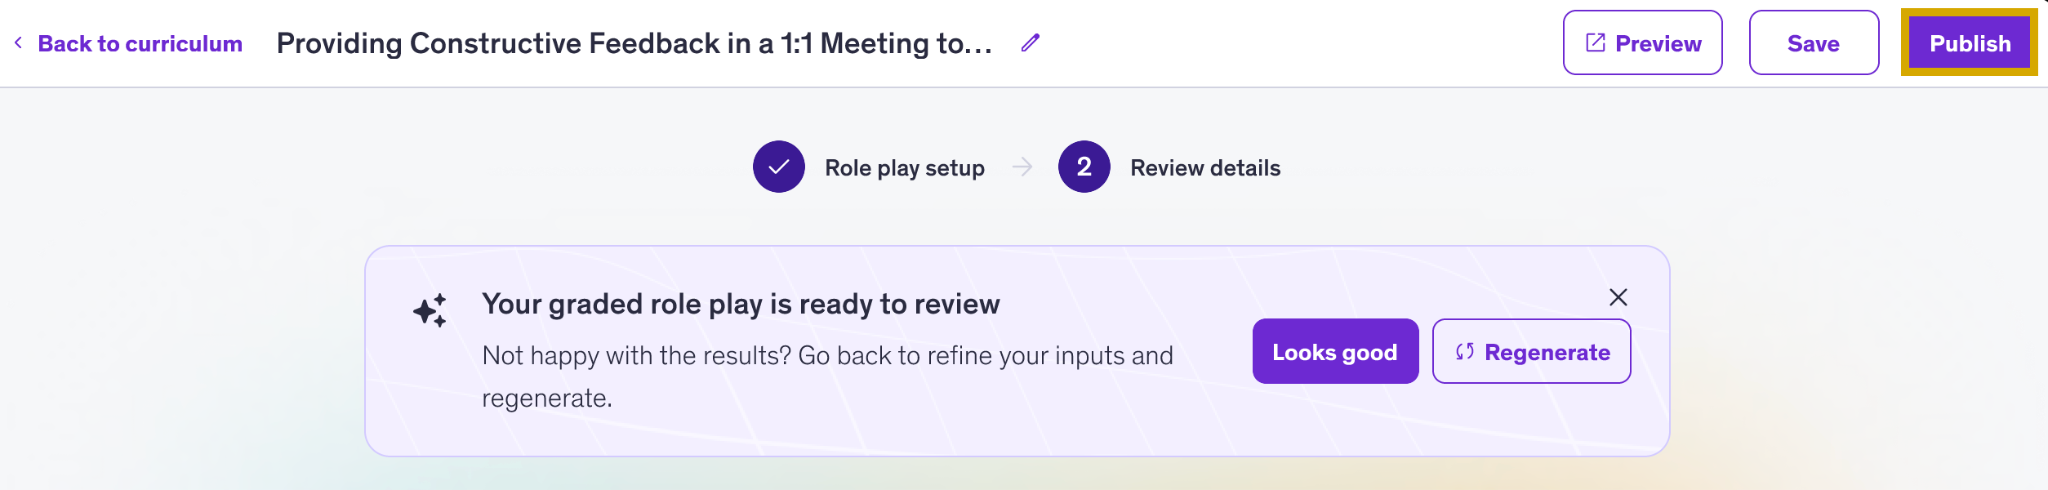
How to edit or delete a Role Play
Edit: To edit an existing Role Play, click on the pencil icon next to the title and follow the steps to update your settings.
Delete: To delete a Role Play, click on the trash can icon next to its title. Once a Role Play has been deleted, it cannot be reversed.